GS Cockpit Customizations
compiled & edited by NickJC #1085
Please read
the Disclaimer before attempting any work in this FAQ.
BMW F 650 GS Dakar - Touratech cockpit conversion.
by Thomas Rebnord, #849
You'll need:
(p. 45-68 + 216 in their catalogue)
- IMO computer of your choice (p. 46-51)
- Magnet for front wheel pick-up (p. 54)
- Is included with the IMO, but if it falls off, you’ll need to replace it with one of these.
- Remote for your new IMO. (p. 52-53)
- Oil plug w/adapter (p. 54) Oil plug/ sensor is included, but you’ll need the adapter (01-015-0056-0).
- LED display (030-0033) (p. 55)
- Roadbook holder (p. 65 + 66)
- RB-01 (manually operated) (021-0010)
(originally intended for handlebar mount, but works with cockpit conversion – don’t sue me if you mess it up !)
- RB-TT (w/ motor) (020-0010)
- Roadbook lighting (025-0021) (p. 65)
- The light is included with the RB-TT .
- Cockpit conversions plate (p. 216)
- (040-4201) if you've chosen an IMO 50
- (040-4202) if you've chosen an IMO 100
- No guaranties for typo's so: Double-check part numbers before ordering !
Overview
This conversion took me two full days, but I wasn't in a hurry. It can be done in a day if you start early and are used to working on your bike. It's one thing to take apart something on your bike and putting it back together, but it's a little frightening to rip the whole front of the bike off and then replace it with something completely different.
Write down your total miles/kms before you begin wrenching !!!
Let's Start the Work !
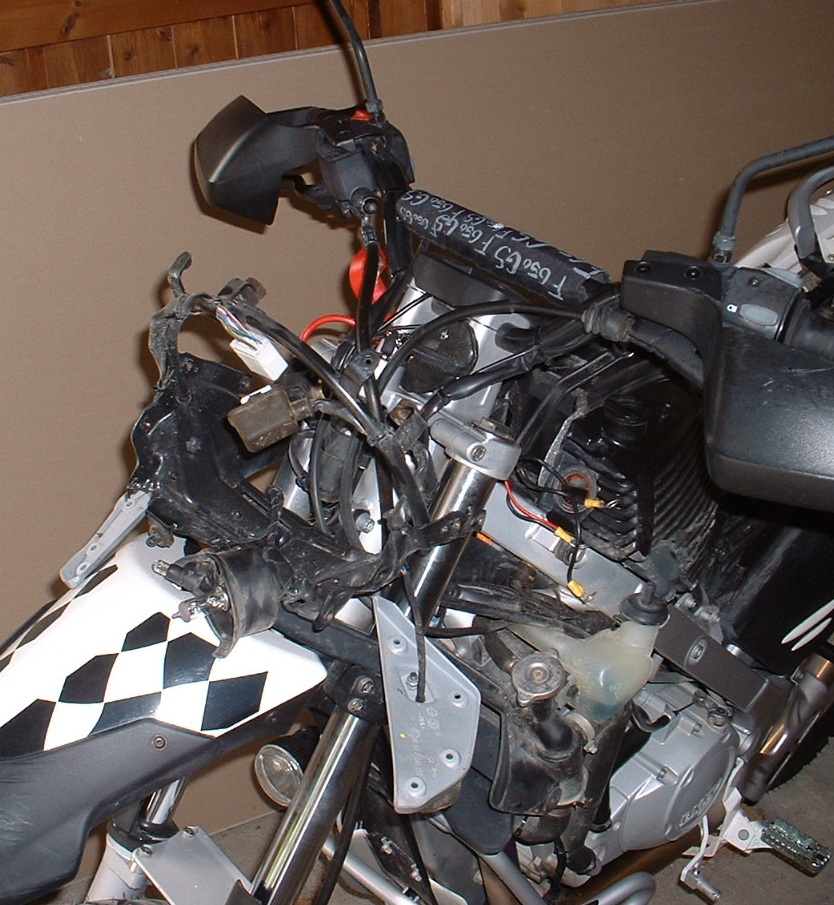
Remove windshield, headlamp and instrument panel. (Pic. 1)
I took a note of which wires went to what lamp on the original dash. Very easy because the wires are marked from 1-7.
And it's even easier for you since I've already written it down ! (Euro spec bike. Don't know if there are any difference to the US spec).
1. Blue/green + purple = Water temp
2. Blue/green + white/brown = Oil pressure (and charging)
3. Blue/green + brown/ black = Neutral
4. Brown + white = High beam
5. Blue/green + white/green = Fuel
6. ABS (I don't have it so I didn't write down the colors)
7. Turn signal (hooked up directly to each side so no colors here either)
LEDs
Since I used most of the original wiring it's fairly straight forward. I just cut of the original bulbs and crimped them into the socket for the LEDs (Pic. 2).
Since there's only one turn signal lamp on the original dash and two on the LEDs I went to the source; left and right turn signal up front (See pic 2 where the blue wires are hooked up to the turn signal and comes out in the front). Hook into the positive on each side and common ground them up with the rest of them. I used the gear change lamp on the LED as a fuel light since there isn't one on the LED and I don't have a SPORT IMO which can be set to warn you when the revs are too high. You will need the resistance (100ohm 3W I think it was) on the oil pressure LED because it is also the charge light.
Double-check !
Be careful and double check all your connections before pressing the wires in where they can't be removed (just a friendly tip, (grin)) (Pic. 3). I forgot that there's a lid on the roadbookholder and had to drill new holes in the RB-01 holder and move it down a notch.
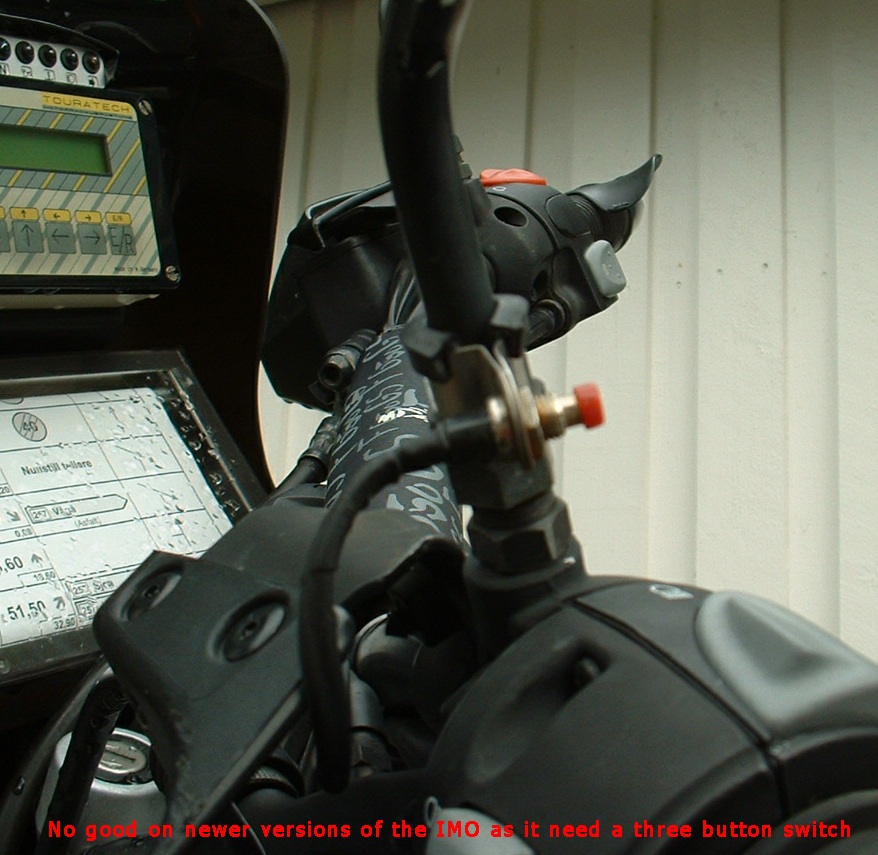
Remote (Pic. 5).
The remote I made from a tiny switch that cuts the current when it's pressed and then when you release it goes through again. It's not very pretty, but it works.
The new IMO’s use a three-button remote however, so this won’t work for you unless you also have an old IMO. (Pic. 8).
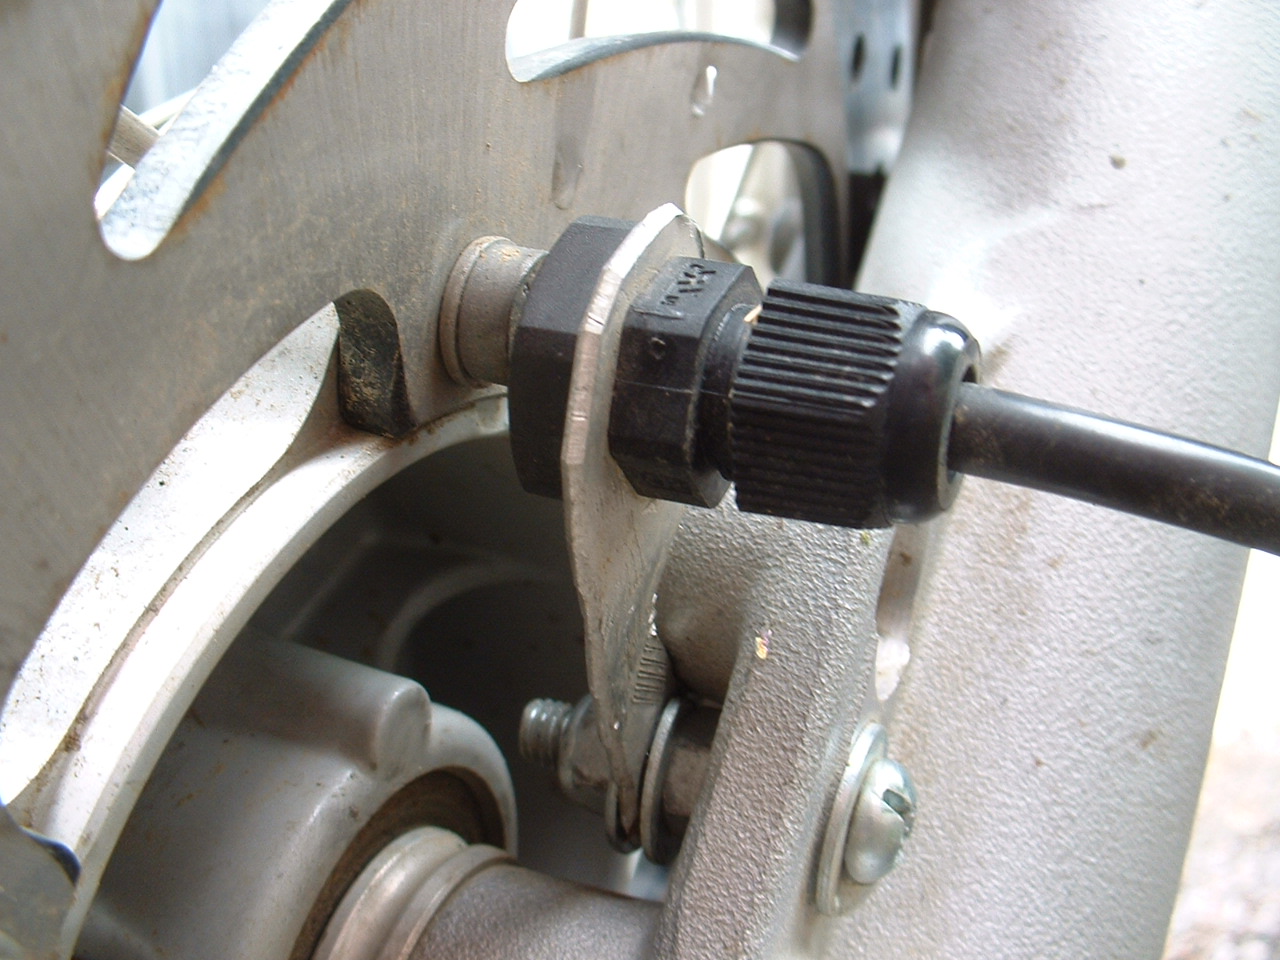
The pick-up (Pic. 4).
I used the whole already in the left fork. You need to make a plate of some sort if the one that comes with the IMO wont fit. I used a sheet of aluminium and cut it out. The magnet is glued to the brake disk beside on the screws. On my last bike (97 classic ST) it would fit on the head of the screw, but there's not enough room on the GS when the wheel spins.
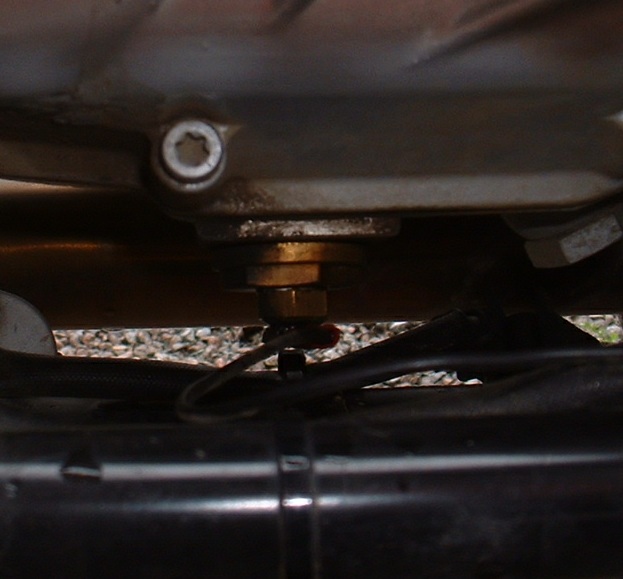
Oil plug temperature sensor (Pic. 6)
I changed my oil the day before I started with the cockpit so I replaced the oil plug at the same time. Easy. Screw in the sensor first then screw the plug into the sump. Hook on the wire and you're set.
Cockpit adapter plate.
Plate on one side of the rubber mounts - fastening ring on the opposite side of the rubber mounts.
Rebuilding.
I had some problems with fit and had to drill new holes in the headlamp housing (plastic).
What I did was to fasten all the wires with strips to the bar that holds the cockpit. I believe there would be more room if you tried to have the wires on both sides, down by the turn signals. I was just to lazy to take it apart again, (grin).
IMO
It's not difficult at all. Just connect all the wires to the print card (special sockets are included).
The RPM is the black wire in the second plug to the original instruments. I had to put on a resistance here as well, but it turns out none of the 5 impulse settings are working properly anyway. On the new IMO’s there’s an adjustable pot-meter. Set to zero before you start the engine and adjustable to correct setting.
PS: 21" front wheel is 2135mm around when new. I adjusted mine to 2134mm after about 350kms so that it would match the Roadbook I was using.
(Pic 7). shows the new cockpit.
I made a small shade for the LEDs with tape since it was hard to see the light in bright sunshine. Will try to make something nicer when I get around to it. The switch on the left is something I need because my IMO drains the battery if left too long (New ones don't do that). My switch cuts the direct current from the + side of the battery.
Winter project: New IMO !